
In this tutorial, you’ll learn how to deploy a Pytorch model on AWS cloud infrastructure.
In my previous post, we saw how to train an image classifier that is capable of recognizing images of objects in 10 categories. Today, we’ll deploy the model from the training job on SageMaker hosting services (Pytorch model server) for real-time inferencing. The full source code for this tutorial can be found on this Github repository.
AWS SageMaker is a fully managed service from AWS that allows you to build, train, and deploy ML models into a production-ready environment at scale. It completely abstracts the complexity of running machine learning models in production away.
First, before AWS SageMaker hosting services can serve your model, you have to upload your model artifacts to an S3 bucket where SageMaker can access it.
Upload Model Artifacts to S3
Create an S3 bucket to host your Gzip compressed model artifacts and ensure that you grant SageMaker the permissions to access it.
To keep things simple, we’ll stick to SageMakerFullAccess policy. SageMakerFullAccess policy is a managed policy that includes all the necessary permissions required to perform most actions on SageMaker. This policy is very handy when working on SageMaker as it defines most permissions you would need to work with SageMaker easily.
When using SageMakerFullAccess policy, you should ensure that your bucket name contains sagemaker and should be in the same region as your notebook instance.
We can upload the compressed Pytorch model to a bucket using an AWS CLI command:
aws s3 cp ./model.tar.gz s3://pytorch-sagemaker-example

Create an Inference Handler Script
SageMaker Pytorch model server allows you to configure how you deserialized your saved model (model.pth) and how you transform request calls to inference calls on the loaded model.
These configurations are provided in the form of a python script that implements four functions: model_fn, input_fn, predict_fn and output_fn.
For this example, we’ll define these four functions in a single python file named inference.py
Let’s start a Jupyter notebook instance on SageMaker in the same region as the S3 bucket you created earlier and create a python file named inference.py with this code:
# filename: inference.py
def model_fn(model_dir):
    pass

def input_fn(request_body, request_content_type):
    pass

def predict_fn(input_data, model):
    pass

def output_fn(prediction, content_type):
    pass
Model_fn
For model loading, SageMaker calls model_fn which loads the model from the directory specified and returns a deserialized Pytorch model. We can implement the function as:
def model_fn(model_dir):
    device = torch.device('cuda' if torch.cuda.is_available() else 'cpu')
    logger.info('Loading the model.')
    model = models.resnet50(pretrained=False)
    fc_inputs = model.fc.in_features

    model.fc = nn.Sequential(
        nn.Linear(fc_inputs, 2048),
        nn.ReLU(inplace=True),
        nn.Linear(2048, 10),
        nn.Dropout(0.4),
        nn.LogSoftmax(dim=1))

    with open(os.path.join(model_dir, 'model_0.pth'), 'rb') as f:
        model.load_state_dict(torch.load(f))
    model.to(device).eval()
    logger.info('Done loading model')
    return model
After loading the model, the next step is request handling, which is broken down into three phases.
- Input processing
- Prediction
- Output processing
Each step above has a dedicated function that must be implemented in inference.py.
Input_fn
The input_fn takes request data and deserializes it into an object ready for prediction. It receives two arguments when a SageMaker endpoint is Invoked: request body and the content type.
def input_fn(request_body, content_type='application/json'):
    logger.info('Deserializing the input data.')
    if content_type == 'application/json':
        input_data = json.loads(request_body)
        url = input_data['url']
        logger.info(f'Image url: {url}')
        image_data = Image.open(requests.get(url, stream=True).raw)

        image_transform = transforms.Compose([
            transforms.Resize(size=256),
            transforms.CenterCrop(size=224),
            transforms.ToTensor(),
            transforms.Normalize([0.485, 0.456, 0.406], [0.229, 0.224, 0.225])
        ])

        return image_transform(image_data)
    raise Exception(f'Requested unsupported ContentType in content_type {content_type}')
The code above receives a JSON object, which contains the URL of the image to predict and the content type as arguments. We perform some transformation on the image and returns a transformed tensor object ready to be passed to predict_fn.
Predict_fn
This function takes the transformed input object from input_fn and performs an inference against the loaded model.
def predict_fn(input_data, model):
    logger.info('Generating prediction based on input parameters.')
    if torch.cuda.is_available():
        input_data = input_data.view(1, 3, 224, 224).cuda()
    else:
        input_data = input_data.view(1, 3, 224, 224)
    with torch.no_grad():
        model.eval()
        out = model(input_data)
        ps = torch.exp(out)
    return ps
Output_fn
The output_fn serializes the output of the prediction according to the response content type and maps the predicted outputs to classes of objects used in training the model.
def output_fn(prediction_output, accept='application/json'):
    logger.info('Serializing the generated output.')
    classes = {0: 'Leopards', 1: 'airplanes', 2: 'butterfly', 3: 'camera', 4: 'elephant', 5: 'lamp', 6: 'rhino',
               7: 'umbrella', 8: 'watch'}

    topk, topclass = prediction_output.topk(3, dim=1)
    result = []

    for i in range(3):
        pred = {'prediction': classes[topclass.cpu().numpy()[0][i]], 'score': f'{topk.cpu().numpy()[0][i] * 100}%'}
        logger.info(f'Adding pediction: {pred}')
        result.append(pred)

    if accept == 'application/json':
        return json.dumps(result), accept
    raise Exception(f'Requested unsupported ContentType in Accept:{accept}')
Having specified how the SageMaker model server should load and serve the model, we create a new Jupiter notebook in the same directory as inference.py with the code below and execute it to provision the resources.
#filename deploy.ipynb
from sagemaker.pytorch import PyTorchModel
from sagemaker import get_execution_role

role = get_execution_role()
# You can also configure a sagemaker role and reference it by its name.
# role = "CustomSageMakerRoleName"
pytorch_model = PyTorchModel(model_data='s3://pytorch-sagemaker-example/model.tar.gz', role=role, entry_point='inference.py', framework_version='1.3.1')
predictor = pytorch_model.deploy(instance_type='ml.t2.medium', initial_instance_count=1)
model_data : A path to the compressed, saved Pytorch model on S3
role: An IAM role name or arn for SageMaker to access AWS resources on your behalf.
entry_point: Path a to the python script created earlier as the entry point to the model hosting
instance_type: Type of EC2 instance to use for inferencing.
At this point, you will have two files: inference.py and deploy.ipynb in the Jupyter notebook instance, as shown in the image below.
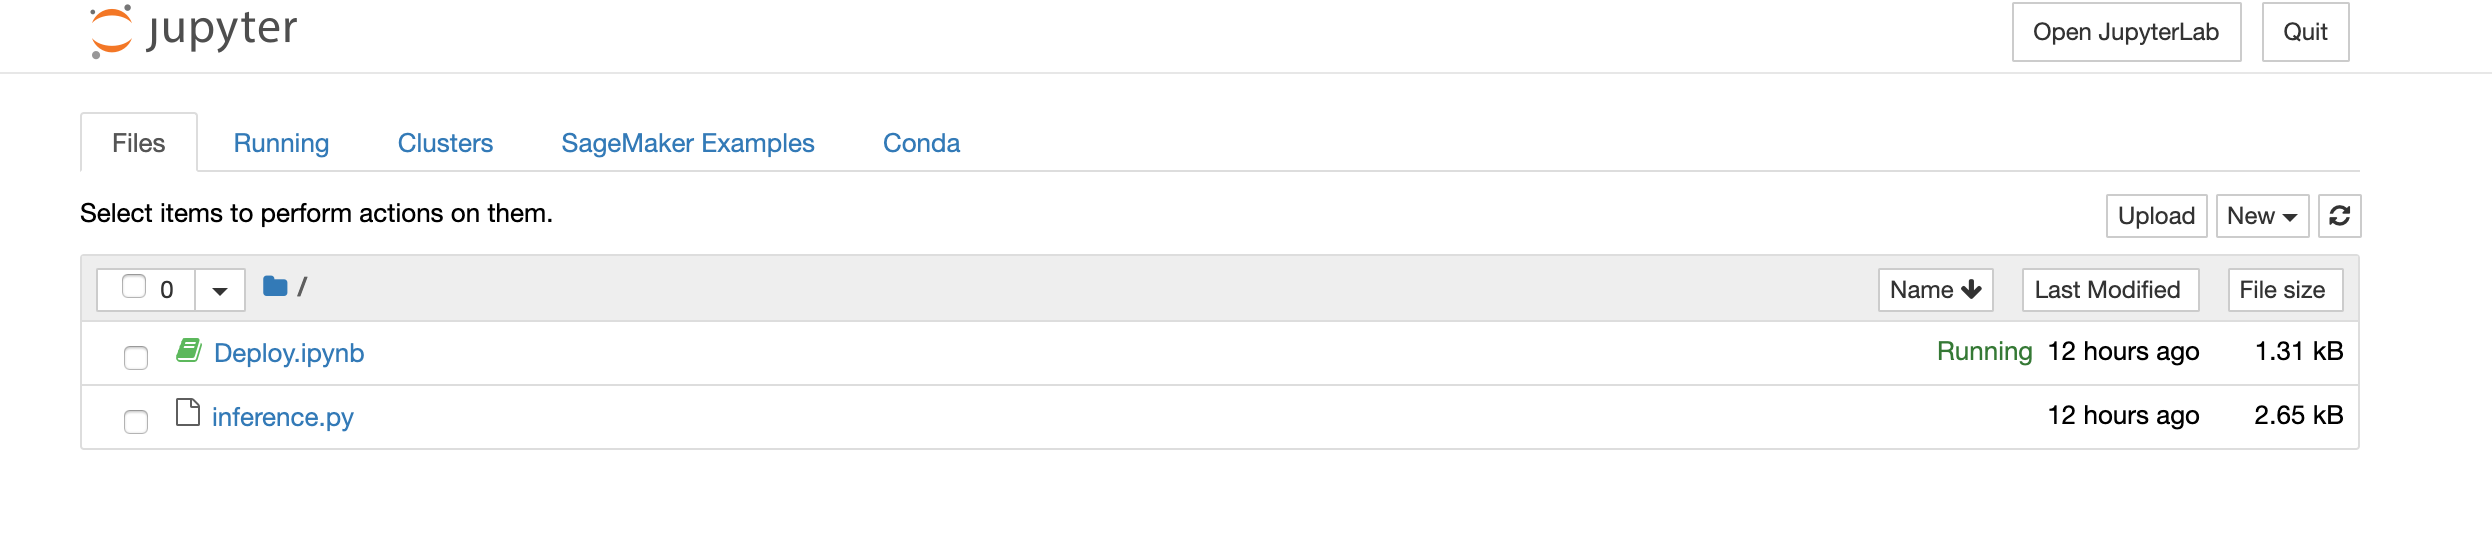
If you open Deploy.ipynb notebook and execute the notebook by choosing Run All from the cell menu, it will deploy the model, as well as the endpoint.

On successful deployment, you can make real-time predictions using InvokeEndpoint by sending a JSON object with a url of an image to predict.
For example :
{"url":"https://example.com/predict.png"}